

Last year, I came across a picture of a cake on Pinterest that looked like it had spider webs on it. I thought it was so cool and I've been waiting for Halloween to come around so I could try it. But making a cake takes too long, so I decided I would try it on a cupcake. However, I thought it would look a little funny drizzling the melted marshmallow on a plain cupcake, I decided it would look much better if the cupcake was dipped in chocolate first!! You can tell I love everything chocolate dipped since I made chocolate dipped apples last week. I did tweak my tempered chocolate recipe though! I like this one the best because while the chocolate got hard, it was still soft enough to cut through easily.
As for these techniques, they were super easy! The hardest part of tempering the chocolate was having the patience to let it cool down before dipping the cupcakes. Making the cob webs were also super fun and easy, but very messy! The cobwebs would be a lot of fun for kids!
Chocolate Dipped Cupcakes with Marshmallow Cobwebs
 24 iced cupcakes
1 box melting vanilla chocolate
3 tablespoons canola oil
1 bag mini marshmallows
24 spider rings
1. Make your favorite cupcake and buttercream icing. Ice the cupcakes really high, using about 1/2 cup of icing on each cupcake.
 2. Place completed cupcakes in refrigerator to chill while tempering the chocolate. Combine chocolate and oil in a small saucepan set over a medium saucepan of simmering water. Don't let the water get too hot and boil because the chocolate will overheat. Stir constantly until the chocolate is melted and smooth. Transfer into a small, but deep bowl and let chocolate cool for 15-20 minutes.
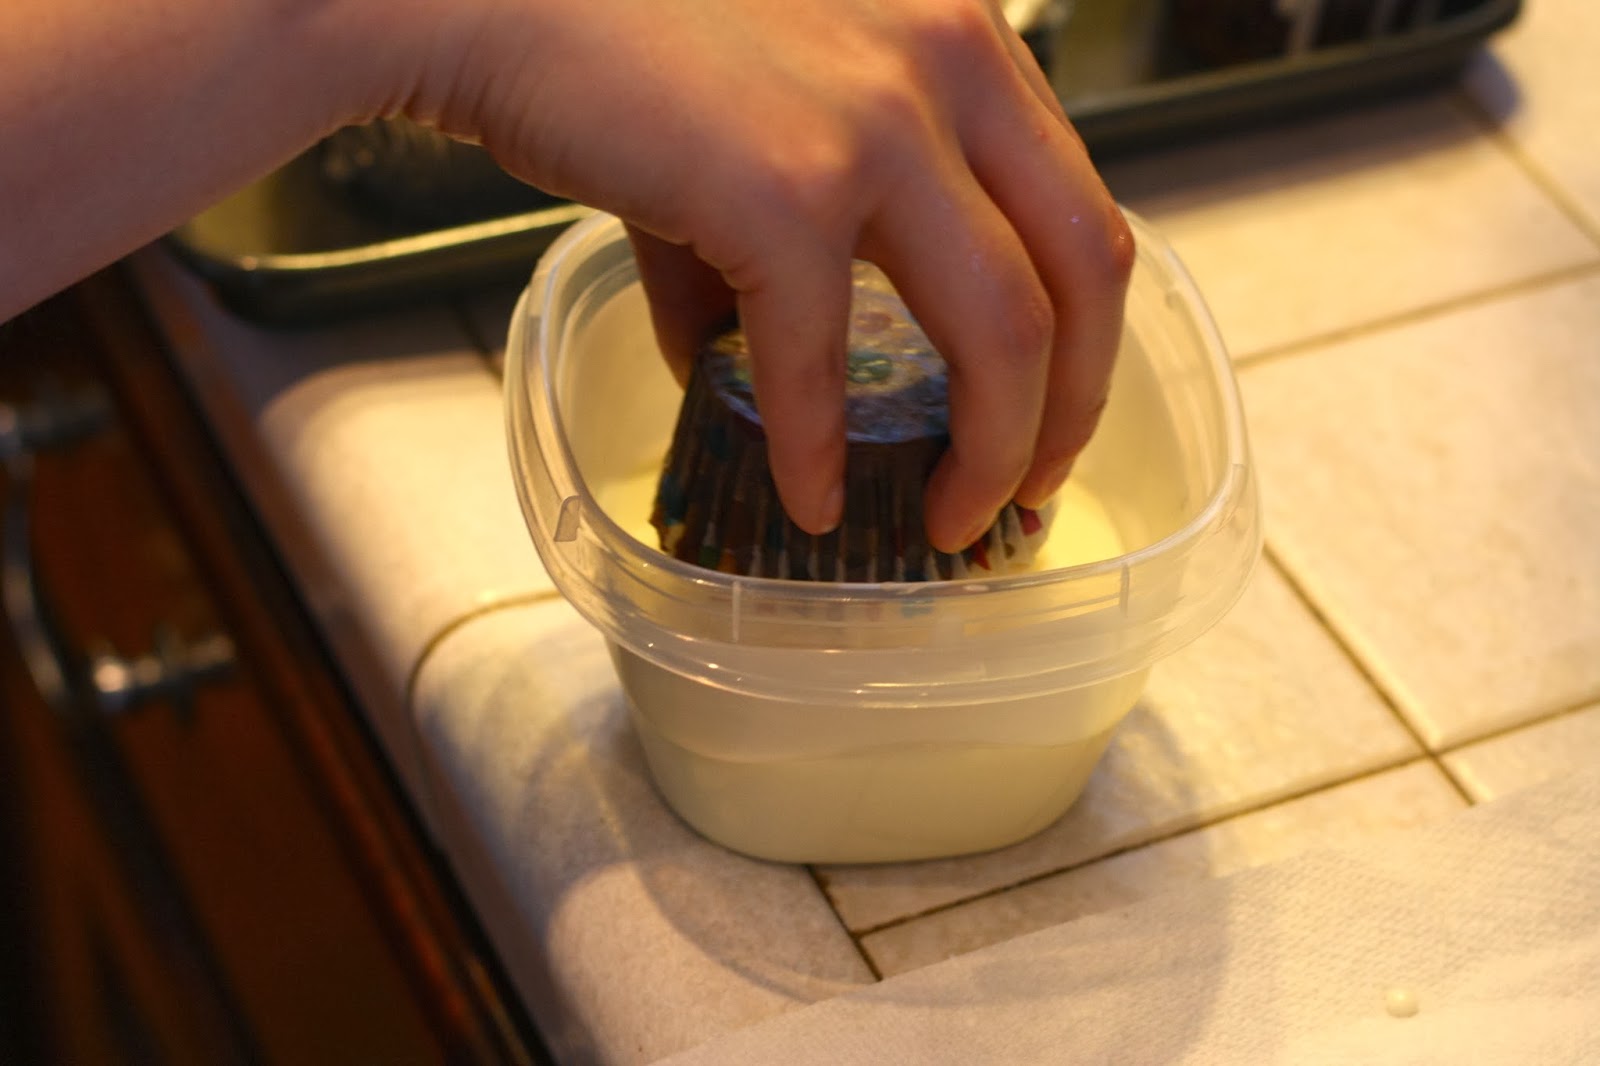
3. Once the chocolate is cool to the touch, dip a cupcake into the chocolate by holding the cupcake by it's bottom. Let the excess chocolate drip off and then transfer to a cookie sheet. Place cupcakes in the refrigerator to speed up the setting process.
4. In the meantime, take 1 bag of mini marshmallows and put in a microwaveable bowl. Microwave for 30 seconds. Stir until the marshmallows are completely melted and continue to stir until it is cool to the touch. It take about 5 minutes.
 |
| Before |
 |
| After |
 |
| After microwaved for 30 seconds |
5. Remove cupcakes from the refrigerator once the chocolate has hardened. Using two fingers & two hands, string the melted marshmallow all over the cupcakes. Decorate as desired. I stuck a plastic spider ring into the cupcake as the final touch or you could use Christy's spider technique she posted last week and pipe it on the cupcake!

Here are few pics of the finished cupcakes!


Please check out our our sponsor, Caryn Hammond, of Rodan + Fields Dermatologist's amazing site for amazing products!
No comments:
Post a Comment