It's true! I'm a chocolate lover. If you are too, you will love the recipe I have for you. I came up with this recipe a while back by accident. Some people say that all things happen for a reason and the discovery of this dip was meant to be.

Rocky Road Cheesecake Dip is very easy to make and tastes delicious. It does have a slight cream cheesey flavor, so if that is not what tickles your taste buds you may want to skip this. However, if you are like me and LOVE cream cheese and chocolate keep on reading. I recommend eating this dip with either graham crackers or vanilla wafers or pretty much anything you want. The spoon did the trick for me!
Here is a little fact for those of you who are Rocky Road fans: According to Wikipedia, the Rocky Road ice cream flavor was created in March 1929 by William Dreyer in California. He cut up walnuts and marshmallows with his wife's sewing scissors and added it to his chocolate ice cream. What a smart guy he was!
I hope you all enjoy my dip!
Sarah

Rocky Road Cheesecake Dip
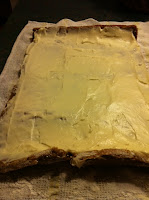
1 8 oz package of cream cheese, room temperature
1/2 cup butter
1/3 cup brown sugar
1/2 cup powdered sugar
1 t vanilla
3/4 cup chocolate chips
3/4 cup walnuts
1 cup marshmallows
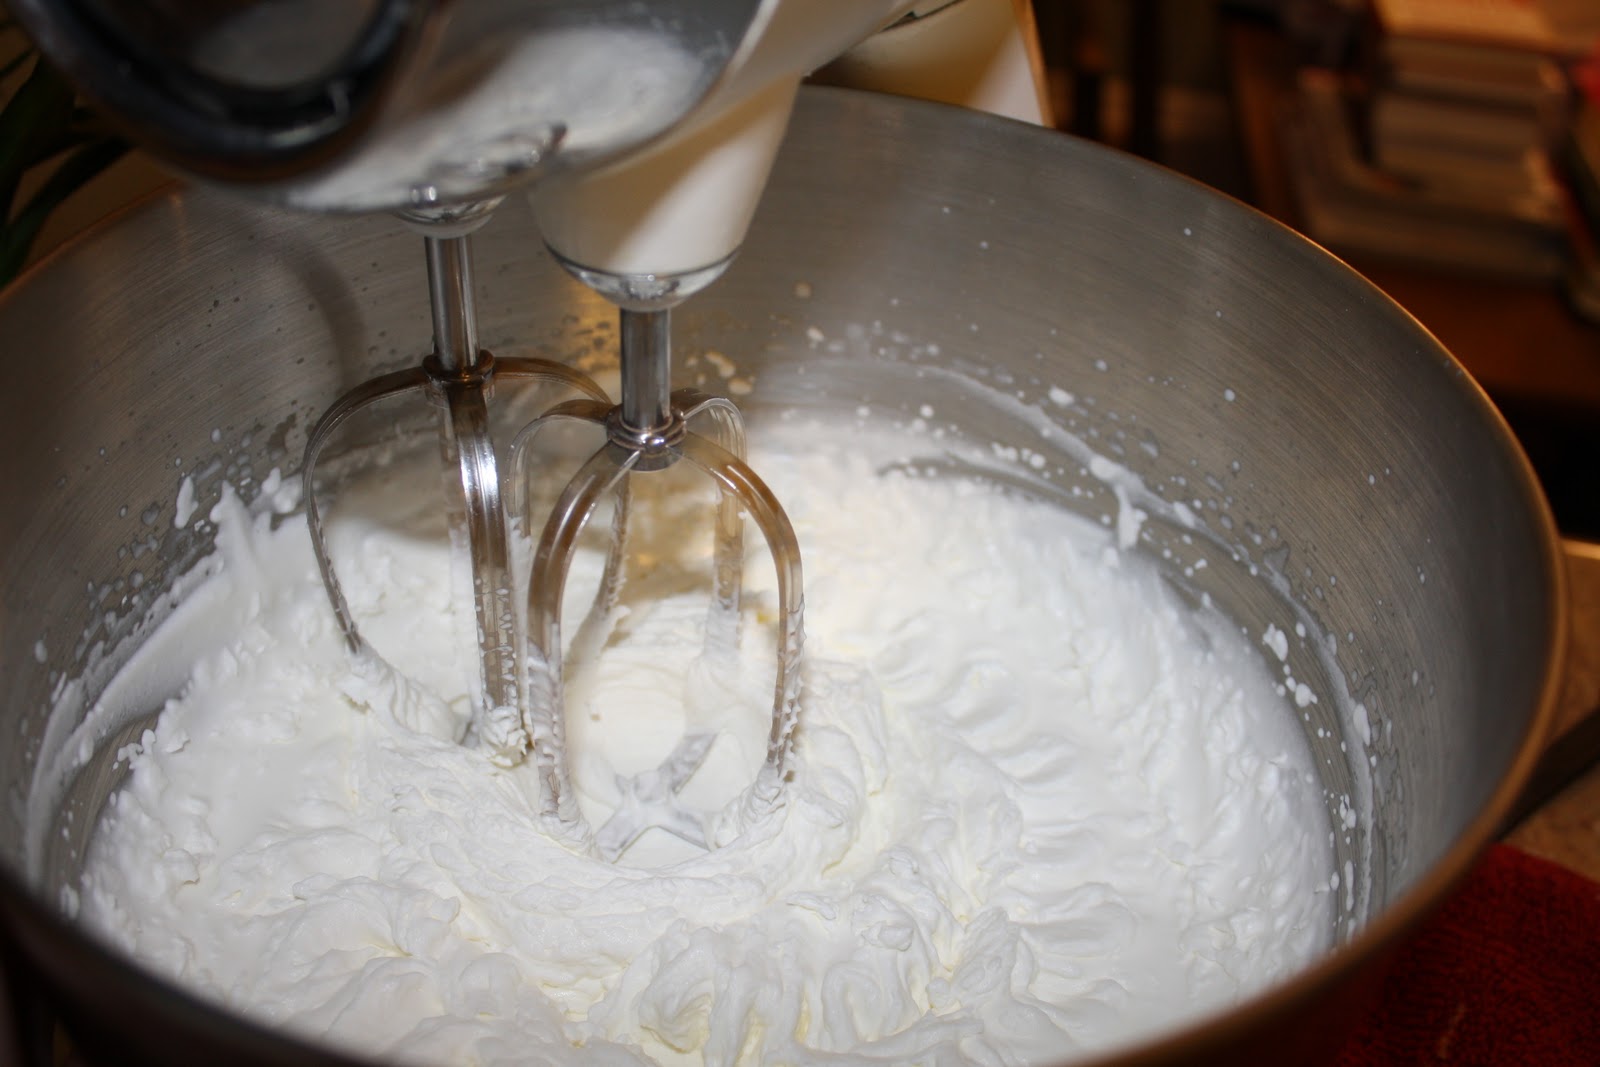
1 cup cool whip
1. Melt butter in saucepan over low heat. Mix in brown sugar until it dissolves and starts to bubble. Remove from heat and stir in vanilla and chocolate chips. Stir until chocolate chips have completely melted in sauce.
2. With a mixer, combine cream cheese and powdered sugar. Once mixed and smooth, add chocolate brown sugar sauce. Mix until combined. Let it cool to room temperature.
3. Once cool, mix in cool whip. Finally, fold in nuts and marshmallows.
4. Serve with cracker of your choice.